Introduction: Rustic Charm, Made by You
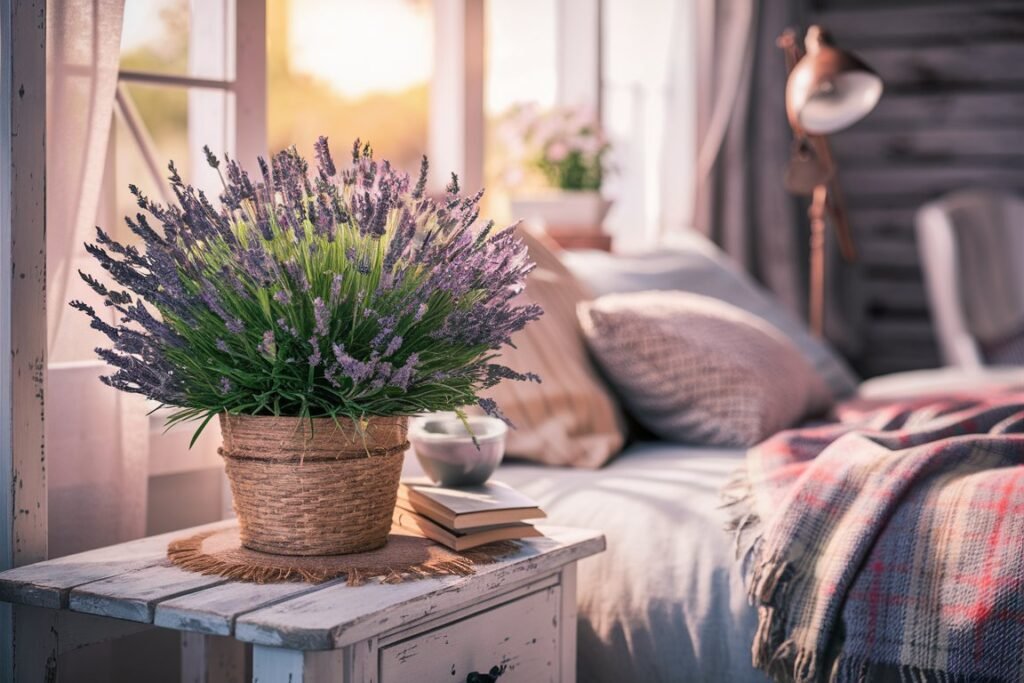
Imagine stepping into a cozy cabin filled with natural textures, earthy tones, and the scent of the holidays. Rustic planters are the ultimate way to bring that charm into your home this season—and the best part? You can create them yourself! This step-by-step guide walks you through every detail, ensuring even beginners can achieve beautiful, professional-looking results. Plus, with tips for customization and product suggestions, you’ll have everything you need to get started. Don’t miss the free rustic-themed printables at the end to complete your decor!
Step 1: Gather Your Supplies and Plan Your Design
Take a moment to envision your final look—this helps you choose materials that suit your style. Gather the following essentials:
- Planters or Pots: Terracotta for warmth, ceramic for elegance, or recycled containers for a creative twist.
- Burlap Fabric: Choose neutral tones for a classic look or printed holiday patterns for extra flair.
- Pinecones & Twine: Perfect for a natural, cozy vibe.
- Hot Glue Gun: For securely attaching decorations.
- Mini Ornaments or Bells: Add pops of color and festive cheer.
- Faux Snow Spray: Create a frosty, magical effect.
- Sealer Spray: Protect your work from wear and tear.
Pro Tip: Use leftover materials from previous DIY projects to save money and reduce waste.
Step 2: Prep Your Planters for Perfection
Prepping is key to achieving a polished, durable finish:
- Clean Thoroughly: Wipe down your planters to remove any dust or residue—this helps the glue and decorations adhere properly.
- Prime (Optional): If you’re working with terracotta, apply a layer of primer to prevent the burlap from absorbing moisture over time.
- Measure Burlap: Wrap the fabric around your planter to determine the size needed. Leave extra fabric for overlap when gluing.
Recommended Products:
- White Spray Primer: Ensures smooth coverage and prevents moisture absorption. Shop here.
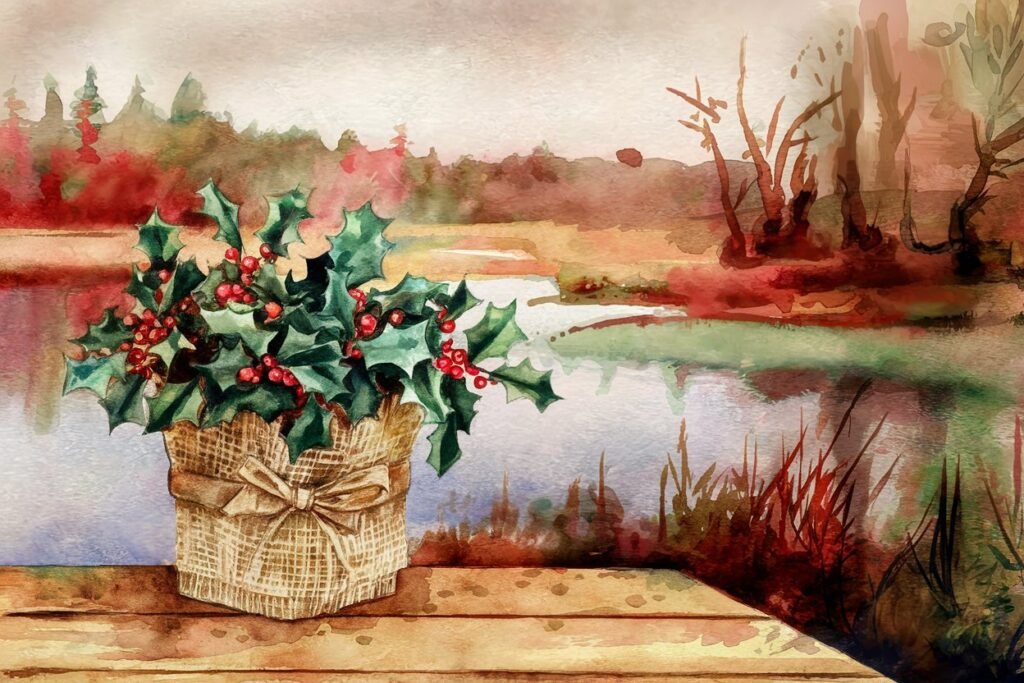
Step 3: Wrap Your Planters with Burlap
Here’s where the magic begins:
- Glue the Burlap: Secure one end of the fabric to the planter using a hot glue gun. Wrap tightly around the pot, smoothing as you go, and glue the overlapping edge.
- Add Texture with Twine: Wrap twine around the planter’s middle, tying a bow or knot for a rustic touch.
- Enhance with Pinecones: Glue mini pinecones along the twine or around the rim.
Pro Tip: Layering different materials, like burlap and twine, creates depth and makes your planters visually interesting.
Recommended Products:
- Natural Burlap Roll: Durable and versatile for all your DIY needs. Shop now.
- Hot Glue Gun Kit: Reliable and easy to use. See details.

Step 4: Add Festive Flourishes for Holiday Cheer
Customize your planters with simple yet striking details:
- Mini Ornaments: Glue small baubles or bells for a playful touch.
- Ribbon: Wrap around the base or rim for added elegance.
- Faux Snow Spray: Lightly spray for a frosty effect that screams “winter wonderland.”
Pro Tip: Use contrasting colors like red ribbons on beige burlap or metallic accents for a modern twist.
Recommended Products:
- Mini Ornaments Set: Perfect for DIY crafts. Shop here.
- Faux Snow Spray: Easy to apply and creates a magical finish. See details.
Step 5: Pick the Perfect Plants
The plants you choose will determine the final look of your rustic planters. Consider:
- Mini Evergreens: For a classic Christmas feel.
- Poinsettias: Add vibrant red and green tones.
- Succulents: Easy to care for and pair beautifully with rustic textures.
Pro Tip: Add fairy lights around the base for an enchanting glow!
Recommended Product:
- Battery-Operated Fairy String Lights: Compact and perfect for planters. Buy here.
Step 6: Arrange and Display Your Planters
Placement matters! Here are some ideas:
- Entryway Welcome: Line up planters near your doorway for a cozy first impression.
- Dining Table Centerpiece: Group planters of varying heights and sizes with candles for a festive look.
- Shelf Styling: Add smaller planters to shelves for a subtle yet cohesive holiday vibe.
Pro Tip: Use a wooden multi-level plant stand to add dimension and showcase your designs.
Recommended Product:
- Wooden Plant Stand: Ideal for displaying your creations in style. Shop here.

Freebies: Download Rustic-Themed Christmas Printables
Complete your decor with exclusive rustic-themed freebies:
- Rustic Gift Tags: Add charm to your holiday presents.
- Burlap-Style Phone Wallpapers: Carry cozy vibes everywhere you go.
- Printable Wall Art: Frame these for instant holiday decor.
Final Touches: Your Rustic Planter, Your Holiday Centerpiece
DIY Rustic Planters are more than just decorations—they’re a way to create, connect, and add personal touches to your holiday home. Start crafting today and enjoy the satisfaction of handmade charm.
But why stop here?
If you’re feeling inspired to take your DIY game to the next level, get ready for a splash of color and creativity. In the next post, we’ll dive into DIY painting projects for pots and planters, where you’ll learn how to design bold, festive pieces with just a few strokes of a brush. Think of it as crafting therapy with holiday magic sprinkled in!
👉 [Stay tuned for the next DIY adventure: Painting Pots and Planters for the Holidays!]