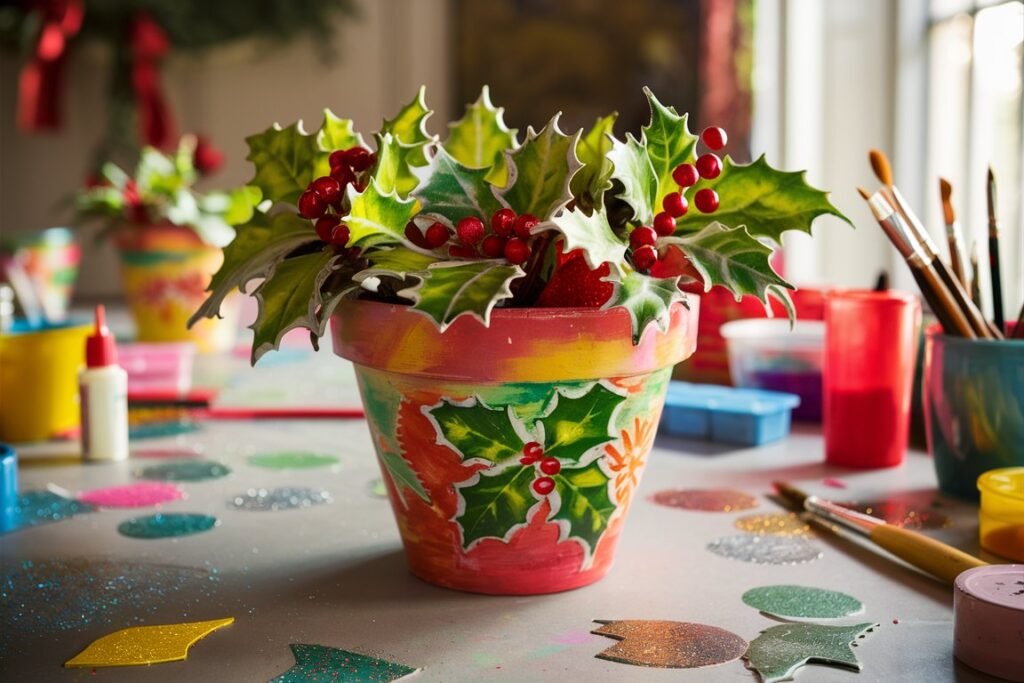
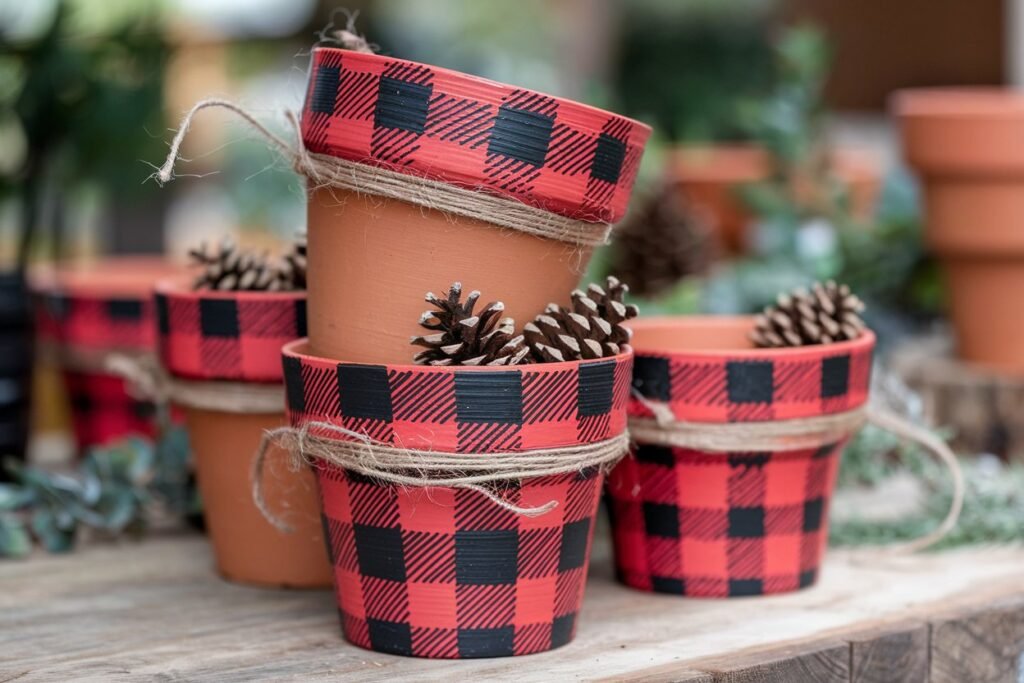
If you enjoyed crafting rustic planters with burlap and pinecones, check out this blog. But why not unleash your creativity with a paintbrush? This DIY lets you personalize your planters with festive colors and designs, making them truly one of a kind.
Painting is more than just an art—it’s therapeutic, fun, and a way to personalize your space. Whether you’re a seasoned painter or someone who’s never held a paintbrush before, this project is all about having fun and enjoying the process. The beauty of painting pots isn’t about perfection – it’s about expressing yourself, playing with colors, and feeling the joy of creating something uniquely yours.
Plus, to make your DIY adventure even more fun, download exclusive freebies—a collection of aesthetic painting templates, motivational quotes, and holiday-themed designs. Whether you’re looking for inspiration or ready-to-use prints, these freebies are perfect for device wallpapers, printable wall art, or stencils for your pots.
Step 1: Gather Your Supplies
Before we start, make sure you have everything you need. Here’s your checklist:
- Planters or Pots: Terracotta, ceramic, or plastic—all work well for painting.
- Acrylic Paints: Go for Christmas colors like red, green, white, gold, and silver.
- Paintbrushes: A variety of sizes for details and larger areas.
- Painter’s Tape: For clean lines and patterns.
- Christmas Stencils: Snowflakes, reindeer, candy canes, or holly leaves.
- Sealer Spray: Protects your designs and ensures they last through the season.
- Optional Embellishments: Glitter, faux snow, or mini ornaments for extra flair.
Product Recommendation:
- Acrylic Paint Set – A vibrant, long-lasting paint kit perfect for holiday-themed crafts. See details.
- Christmas Stencil Kit – Includes festive patterns for easy, professional-looking designs. Shop here.
Step 2: Prepare Your Pots for Painting
Proper prep ensures your paint stays vibrant and smooth.
- Clean Your Pots: Wipe down with a damp cloth to remove dust and grease.
- Prime the Surface: Use a white primer spray to create an even base. This step is essential for terracotta pots to prevent the paint from soaking in.
- Plan Your Design: Sketch your ideas on paper first, so you know where to start.
Pro Tip: Keep your design simple if you’re new to painting. Bold patterns like stripes, polka dots, or solid colors with stencils can create stunning results without much effort.
Product Recommendation:
- White Spray Primer – Perfect for creating a smooth, long-lasting base for vibrant colors. Shop here.
Step 3: Painting Your Pots
Now for the fun part! Here are three easy design ideas to get you started:
1. Classic Christmas Elegance
- Paint the entire pot in a deep red or forest green.
- Use gold stencils to add snowflakes or Christmas tree designs.
- Seal with a glossy topcoat for a polished finish.
2. Rustic Winter Cabin
- Choose a matte beige or light brown base.
- Add faux snow spray to the rim for a frosted effect.
- Wrap a burlap ribbon around the pot and glue on mini pinecones.
3. Sparkling Winter Wonderland
- Start with a white base coat.
- While the paint is still wet, sprinkle glitter for a shimmering effect.
- Use a metallic silver pen to draw icy patterns or snowflakes.
Pro Tip: Mix and match these designs to create a cohesive but varied look for your plant corner.

Step 4: Add Finishing Touches
Once your paint has dried, elevate your pots with festive embellishments:
- Mini Ornaments: Glue small baubles or bells to the pot’s rim.
- Ribbons: Use metallic or velvet ribbons for a luxurious touch.
- Faux Snow Spray: Lightly coat the edges for a frosty effect.
Product Recommendation:
- Decorative Ribbon Set – Includes a variety of textures and colors for endless creativity. Shop here.
Step 5: Choose the Right Plants for Your Masterpiece
Your festive pots deserve the perfect green companions:
- Mini Evergreens: Add an authentic Christmas vibe.
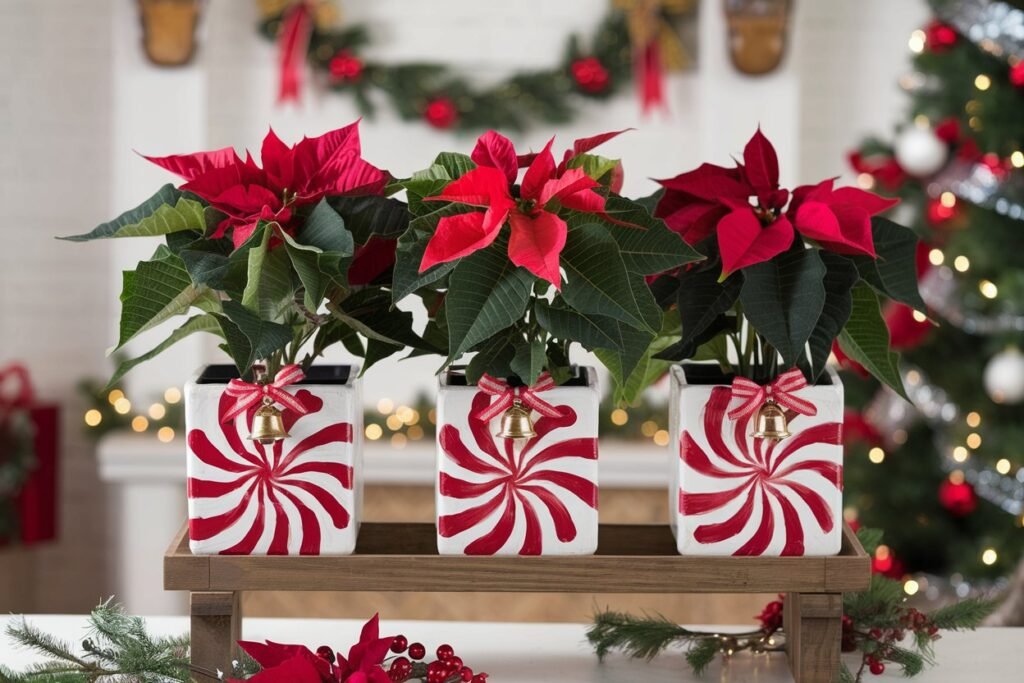
- Poinsettias: Vibrant red leaves for instant holiday cheer.
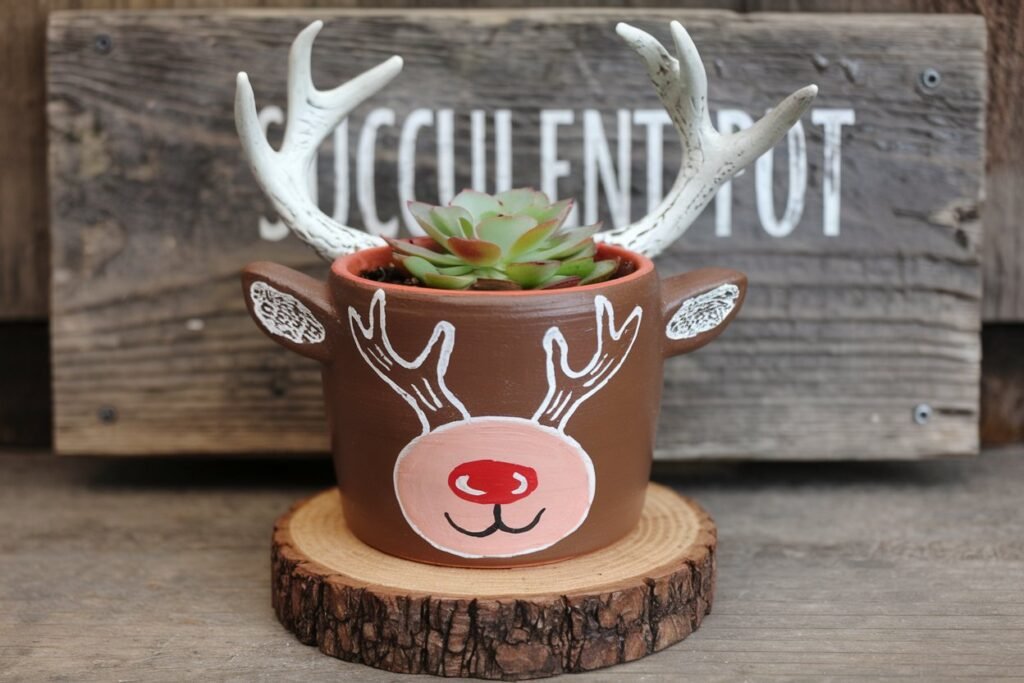
- Succulents: Compact and versatile, they look great in smaller pots.
Step 6: Showcase Your Festive Creations
Display your painted pots in style:
- Table Centerpiece: Group a few pots of varying sizes with candles for a cozy, elegant look.
- Entryway Accents: Greet guests with a cheerful display by your front door.
- Bookshelf Decor: Use smaller pots to add a pop of holiday spirit to your shelves.
Pro Tip: Use a multi-level wooden plant stand to add height and depth to your arrangement.
Product Recommendation: Wooden Desk Plant Stand – Ideal for showcasing your festive DIY pots. See details.
Step 7: Share the Cheer with Freebies
Your creative journey doesn’t end here. Download our exclusive Christmas-themed plant wallpapers and printables to keep the festive vibes going!
Final Thoughts: Creativity Meets Calm
DIY painting isn’t just about decorating—it’s about expressing yourself, enjoying the process, and finding joy in simple things. Whether your pots turn out as picture-perfect masterpieces or charmingly quirky creations, the effort and love you put into them will make them special. So grab your paintbrushes, embrace the imperfections, and let’s turn those pots into Christmas treasures that will brighten your home and your mood!
Once you’ve added a splash of color to your holiday decor, it’s time to create something truly magical. In our next post, we’ll guide you through crafting miniature terrariums—tiny green worlds that double as gifts or stunning seasonal decorations.
👉 [Explore the magic of miniature terrariums in our next DIY guide!]
